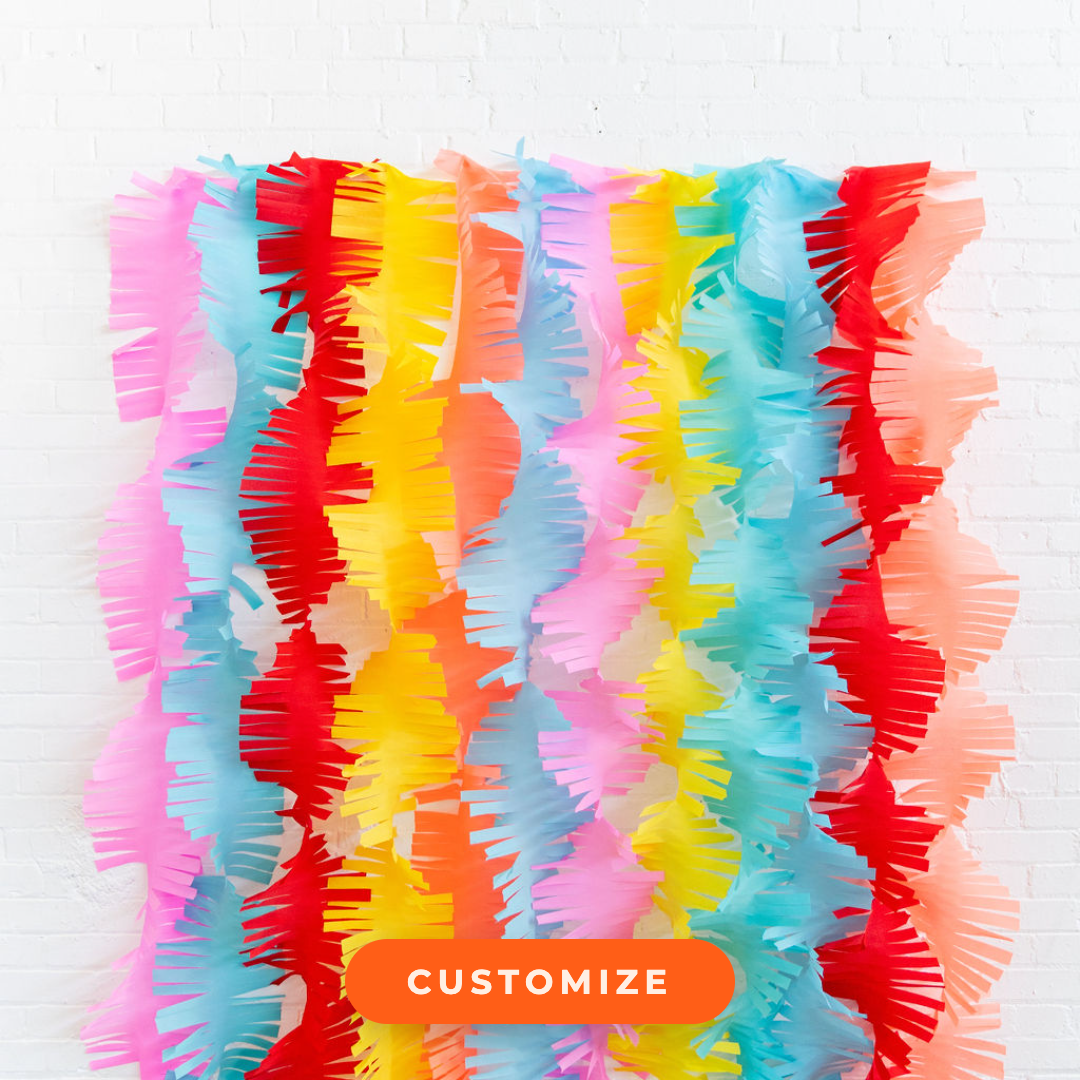

How to Store Your Fringe
The Core Collection · Care Guide
How to Store Your Fringe
The party’s over and the fringe still looks beautiful. Give it ten minutes at breakdown, rather than a rush at midnight, and put it away properly.
Start Here
Release the Wrinkles
Fresh out of the box or out of storage, it’ll look pressed. Hang it, leave it alone, and the creases drop out on their own. No steaming needed for standard or metallic fringe.
-

Step 1: A Curtain Rod
The easiest spot at home or on-site. Hang it full width and walk away.
-

Step 2: A Garment Rack
Best for large backdrops, or for several pieces at once.
-

Step 3: A Shower Rod
Simple, out of the way, and best for smaller backdrops.
Sequence One
Fringe Backdrop
Hang it as it is, or fold and roll it for the tote. Take your time with either.
-

Step 1: Lay It Flat
Fringe side up, the finished top edge along the top.
-

Step 2: Sweep It Up
Bring the loose bottom fringe up to the top edge.
-

Step 3: Even It Out
Smooth it into one soft layer, no kinks.
-

Step 4: Fold Lengthwise
In half the long way, loose fringe inside.
-

Step 5: Roll From One End
Keep the roll even as you go.
-

Step 6: Tuck the Ends
Tuck in every loose strand so the roll stays neat.
Two Ways to Store It

Option One
Hang It
Skip the fold and roll. Drape the top edge over a hanger in a closet or on a garment rack, and it’s the quickest to hang next time.
Studio Tip: use a quilt hanger. It’s heavier duty than a clothes hanger.

Option Two
Tote It
Fold and roll it using the steps above. A clear moving tote is our favorite, because next year you can see what’s inside without opening four boxes. A cardboard box or a moving bag works too.
Sequence Two
Aerial Rings
Every ring arrives pre-wired with clear loop line and a key ring. Leave that hardware on when you put it away, and keep the hoop from bending.
-

Step 1: Smooth It on the Ground
Lay it flat and gently separate any tangled strands before you hang it up.
-

Step 2: Hang Two or Three Together
On a sturdy hanger, never folded or squeezed into a box that bends the hoop.
-

Step 3: Bring It Back Out
Hang it by its loop line, then fluff the fringe by hand until it falls full.
Sequence Three
Aerial Strands
Roll each strand into one full coil, end to end, tucking as you go. Keep the zip ties in the same tote.
-

Step 1: Lay It Out
Lay the strand out straight.
-

Step 2: Start at One End
Begin a small, even roll.
-

Step 3: Tuck as You Go
Fold stray strands into the roll.
-

Step 4: Keep Rolling
All the way to the far end.
-

Step 5: One Full Coil
Finish with the end tucked under.
-

Step 6: Into the Tote
Ends tucked, zip ties alongside.
Sequence Four
Arched Fringe
Take the fringe off the stand, then roll it exactly like an aerial strand.
-

Step 1: Start at the Feet
Snip the zip ties from the bottom up, working both sides evenly.
-

Step 2: Free the Top
Release the center last and lift the fringe off the stand.
-

Step 3: Roll It and Pack the Stand
Roll the fringe end to end, like an aerial strand. Take the stand apart and keep every piece together, with fresh zip ties for next time.
Before It Goes Away
The Checklist
- It’s completely dry.
- Any tangled strands are gently separated.
- Backdrops hung, or folded and rolled. Strands and arched fringe coiled. Rings on hangers.
- Pins, line and zip ties are packed with it.
- Nothing heavy is stacked on top.
- It’s stored somewhere out of direct sun.
Label It With the Colors, Not the Party. “Pink, red, cream” is findable later. “Sophie’s 5th” is not.
Something Not Right?
Quick Fixes
It Arrived Wrinkled
Completely normal after time in the box. Hang it and leave it alone, and the creases drop out on their own. No steaming needed for standard or metallic fringe.
Do I Need to Steam It?
Not for standard or metallic fringe. Hang it and the creases drop out on their own. Tulle, feather, ribbon and lace steam easily if they need a refresh.
It Looks a Little Flat

Run your fingers down each strand to open up the full volume, the same way you fluff it on install day.
A Few Strands Are Tangled

Work from the ends up, a few strands at a time. Patience beats pulling.
It Got Wet
Leave it hanging until it’s completely dry, even if that means the morning after. Packing it away wet is the one thing to avoid.
It’s Been in Storage a While
Hang it up as early as you can before the event so the creases can relax, then fluff it before your guests arrive.
My Aerial Ring Looks Squashed
If the fringe looks flattened, hang it by its loop line and fluff it by hand. If the hoop itself is bent, send us a photo and we’ll take a look.
By Material
Same Steps, a Few Notes

-
Standard and Metallic
Every step on this page, exactly as written.
-
Denim and Vegan Leather
Our heavier materials. Give them a sturdy hanger or the bottom of the tote.
-
Crepe Paper
Made for one celebration. Crepe paper tears, so it isn’t intended to be packed away and reused.
-
Tulle, Feather, Ribbon and Lace
The softer pieces, and they steam easily if they need a refresh. Fold them loosely and keep them on top of the tote.
Ready for the Next One
Hanging it again? Start with the install guide. Planning something bigger? Find your next size. Storing a garland, a Mod Cloud or anything else not on this page? Ask us.