
Skip to content

How to hang your fringe

The Core Collection · Install Guide

How to hang your fringe

Five sequences, eight steps each. Prep it first, install it second, then stand back and let it move. Everything here is event-grade and made to be used again.

✦ ✧ ✦
Sequence One

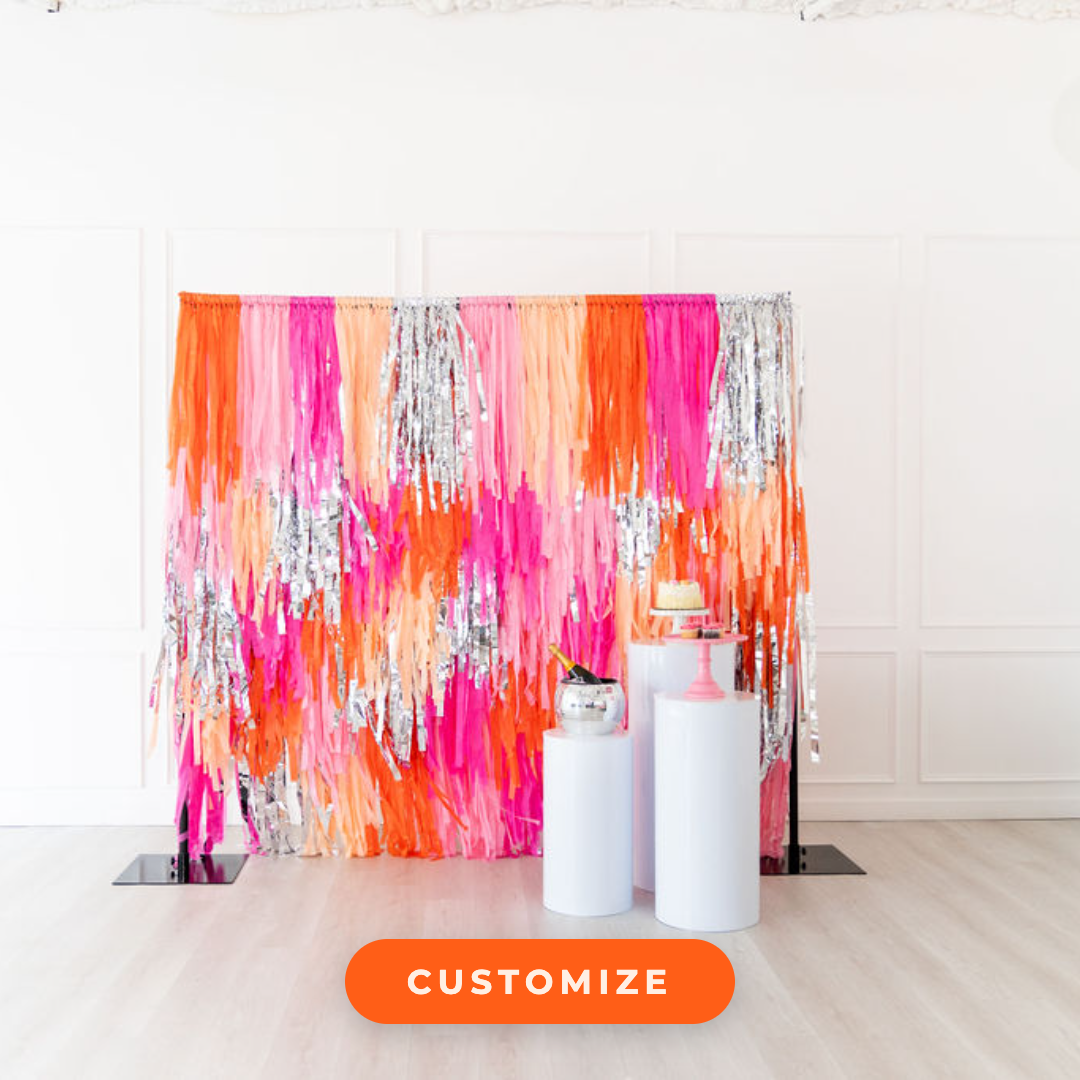
Fringe Backdrop

Hang it flat on a wall, or free-standing on a crossbar. Pick your route below.

1 Fringe backdrop unrolled on the floor beside its box

Unbox & Unroll

Lay it flat and let the strands relax for an hour before hanging.

2 Measuring and marking the wall with a tape measure

Measure & Mark

Find your centre, mark both ends lightly, and check the height twice.

3 Push pins, adhesive hooks and zip ties laid out

Choose Your Mount

Push pins, adhesive hooks, or fishing line — match it to your wall.

4 Pinning the top corner of the fringe panel to the wall

Start at One Corner

Pin the top corner first so the panel hangs true from the start.

5 Working pins across the top of the panel

Work Across the Top

Space your pins every six inches, keeping the header tape flat.

6 Standing back to check the hung backdrop is level

Check Your Level

Step back, sight the top edge, and adjust before the fringe settles.

7 Separating and fluffing the fringe strands by hand

Separate & Fluff

Run your fingers down each strand to open up the full volume.

8 Guests photographing in front of the finished fringe backdrop

Party & Enjoy!

You're done, darling. Take the first photo before the guests arrive.

Sequence Two

Arched Fringe

The arch frame is sold separately — check you have it before install day.

1 Fringe bundle, gold frame poles and zip ties laid out

Unbox & Unroll

Lay the fringe out flat and set the frame parts to one side.

2 Joining two gold frame poles together

Assemble the Frame

Build it on the ground, curve first, and hand-tighten every joint.

3 The bare gold arch frame standing upright on its feet

Stand It Up

Lift with two people and walk it upright into position.

4 Seating the arch pole into its gold base foot

Secure the Base

Sandbag or stake both feet before anything goes on the frame.

5 Threading a zip tie through the header tape at the apex

Start at the Top

Zip-tie the centre of the header tape to the apex of the arch.

6 A row of zip ties working down the side of the frame

Work Down Each Side

Alternate left and right so the tension stays even on the curve.

7 Fluffing the fringe along the standing arch

Separate & Fluff

Comb the strands apart so the arch reads full from every angle.

8 The finished fringe arch

Party & Enjoy!

Walk through it once. That's the moment you built it for.

Sequence Three

Aerial Strands

A strand spans two points overhead. Plan both ends before you climb anything.

Both ends mount level with each other — only the hem should curve.

1 Fringe strands sliding out of the box on the floor

Unbox & Unroll

Unroll the full length on the floor and untwist the header line.

2 Measuring the span on the floor with a tape measure

Measure Your Span

Measure point to point, then add slack for the drape you want.

3 Pointing up at ceiling beams to find an anchor point

Spot Your Ceiling

Find beams, grid, or drop tile — know what you're anchoring into.

4 Magnets, zip ties and an adhesive hook laid out

Pick Your Mount

Zip ties, magnets, or a looped line — whichever suits the ceiling.

5 On a step ladder, reaching up to the ceiling

Ladder or Lift

Set your ladder on level ground and keep a second person spotting.

6 Clipping the end of a strand to a ceiling beam

Fix the First End

Anchor one end fully, then carry the strand across to the second.

7 A single strand swagged across an empty room

Set Your Shape

Take up or release slack until the swag hangs the way you want.

8 Guests beneath layered fringe strands at a party

Party & Enjoy!

Open a door and watch it move. That's the whole point.

Sequence Four

Aerial Rings

Each ring hangs from a single point. Vary the heights and they'll read as a cluster.

1 Fringe rings unboxed and laid out on the floor

Unbox & Fluff

Fluff each ring on the ground — it's far easier down here.

2 Measuring and marking out the layout on the floor

Plan Your Layout

Mark the floor where each ring lands and stagger the drop heights.

3 Pointing up at ceiling beams to find an anchor point

Spot Your Ceiling

Check each anchor point can take the weight before you commit.

4 Magnets, zip ties and an adhesive hook laid out

Pick Your Mount

Zip ties, magnets, or looped line — one clean point per ring.

5 On a step ladder, reaching up to the ceiling

Ladder or Lift

Bring the ring up with you rather than hauling it on a line.

6 Hanging a ring from a ceiling hook on clear line

Hang the First

Set your tallest ring first and use it to judge the rest.

7 Looking up at a full cluster of hung rings

Repeat Across

Work outward, checking the cluster from the guest's eye line.

8 Guests at a party beneath a ceiling of fringe rings

Party & Enjoy!

Dim the lights, look up, and enjoy it.

✦ ✧ ✦

Need the hardware?

Stands, push pins, adhesive and brick hooks, magnets and zip ties — everything in this guide, ready to add to your order.

Shop the Accessories